

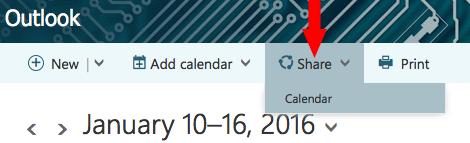
1. Sign in to your Office 365 account. Click Calendar > Share.
2. Type the name or email address of the person you want to share your calendar with in the Share With box. This box works just like the To box in an email message. You can add more than one person to share your calendar with.
3. After you’ve added the people you wish to share your calendar with, select how much information you want them to see and whether or not they can edit the calendar. Options are “Can view when I’m busy”; “Can view titles and locations”, “Can view all details”, and “Can edit”.
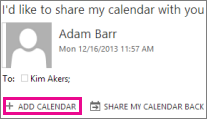
Each person you shared your calendar with will receive an email message telling them that you’ve shared your calendar with them. People inside NSCAD will have two buttons on the invitation – one to add your calendar to their calendar view, and another to share their calendar with you. The email will also include a URL that can be used to access the calendar.
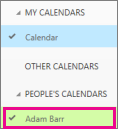
The calendar will show up under PEOPLE’S CALENDARS.
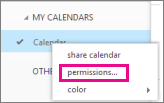
To change sharing permissions
1. Right-click the calendar you want to change permissions for, and then click Permissions.
2. Do one of the following, and then click Done:
• Use the drop-down menu to change the level of details that you are sharing with a person.
• Select the trash icon to stop sharing your calendar with a person.