
Go go https://portal.office.com to sign into Office 365 on the Web.
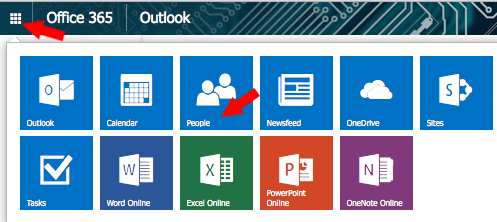
Click the Apps icon at the top left of the screen and then choose “People”:
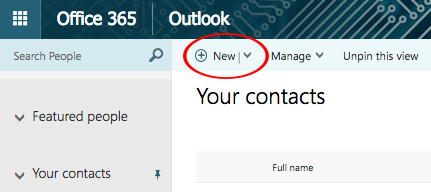
Click on “New”:
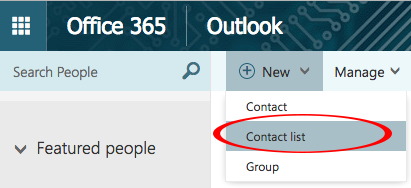
Choose “Contact list”:
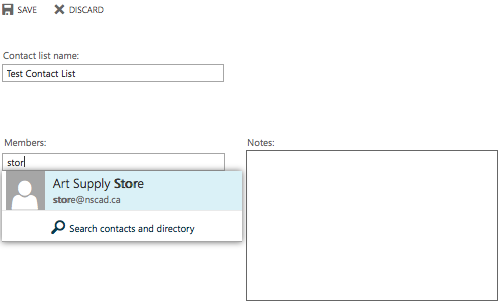
Give your list a name and then add people by entering their email address in the “Members” field, or just enter their name to search for them if they are already in your contacts. If they are not already in your contacts, then you can manually type their email address in the field to add them. When you have finished adding people, click the “Save” icon:
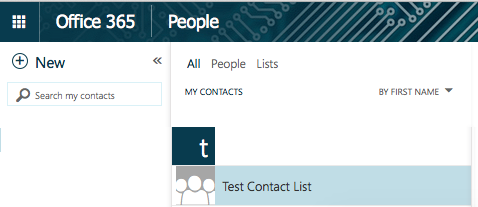
Your new distribution list will now show up in your contacts under the People tab in the Office 365 web app:
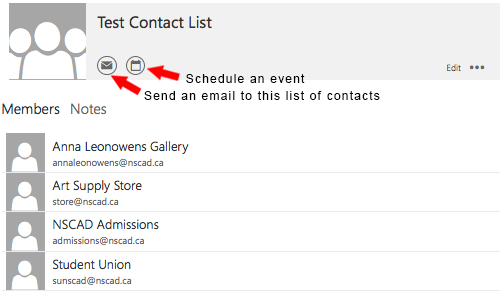
To send a message to your contact list, you can either start a new email in Outlook Web App and then search your contacts to populate the To, Cc or Bcc line, or you can start from the People tab, double-click on your contact list to open it and then click the “send an email” icon. From here, you can also click on the “schedule an event” icon to set up a meeting, including an online Teams meeting.