
If you are printing sensitive information on a shared Ricoh printer, you can use the Locked Job option to prevent the document from being released until you’re standing in front of the printer. A password will be required to allow the print job to complete, ensuring that nobody else picks your document up off the printer by mistake.
Jump to:
Windows 10/11 Instructions
Mac Instructions
Windows 10/11 Instructions
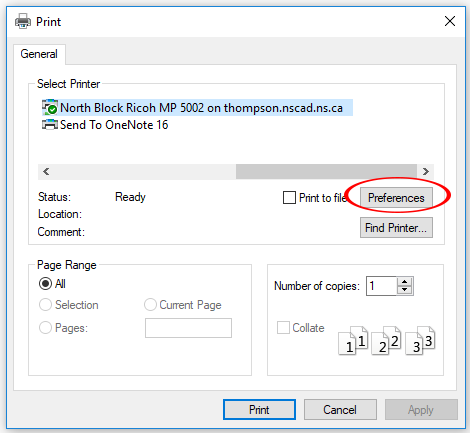
After choosing File > Print and selecting the Ricoh printer, click on the Preferences button:
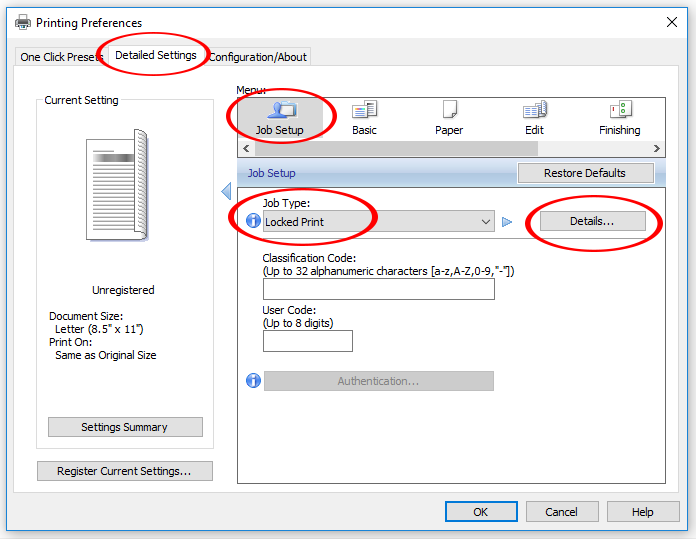
Choose the Detailed Settings tab and click on the “Job Setup” icon, then change “Job Type” to “Locked Print” (not “Hold Print”). Now click on the “Details” buttons beside it:
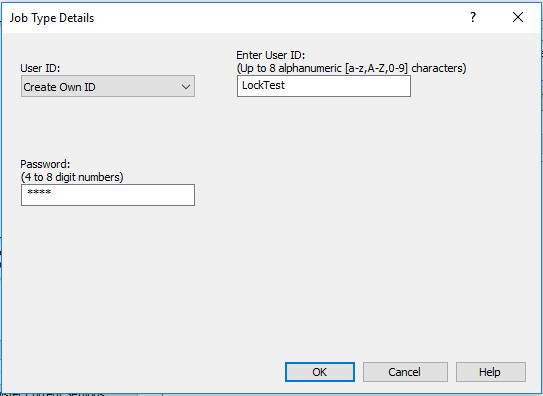
In the “Job Type Details” window, enter a short User ID so you can identify your print job when you go to the Ricoh printer to release it, and in the “Password” field, choose any sequence of numbers up to eight digits. Click OK and then send your print job.
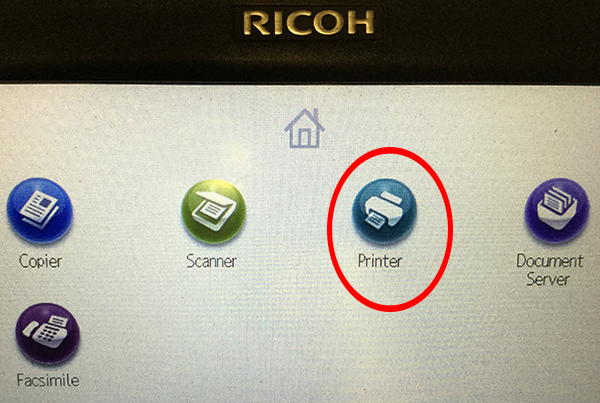
Go to the Ricoh printer and, using the built-in display screen, choose “Printer” from the Home menu.
In the Printer window, choose the “Print Jobs” tab on the left and tap “Locked Print Job”.
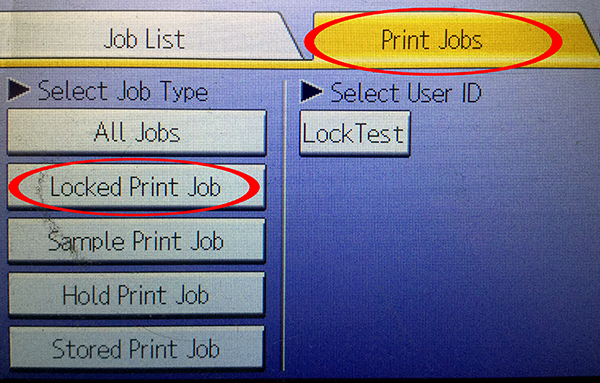
In the Locked Print Job window, look for your print job, identified by whatever you entered in the User ID field in the preceding steps. Tap your job in the list to select it. Tap “Print”.

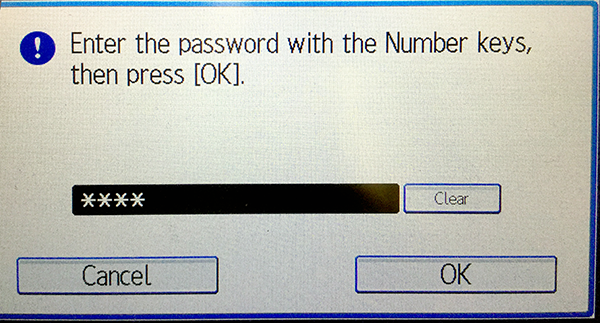
You will be prompted to enter the password you chose in the preceding steps. Enter the password using the Ricoh’s keypad and then tap “OK”. A message will pop up asking “Are you sure you want to print the following?” Tap “Print” again and your job will print.
MAC INSTRUCTIONS
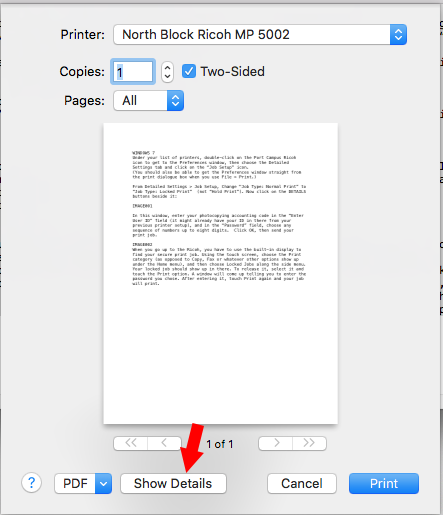
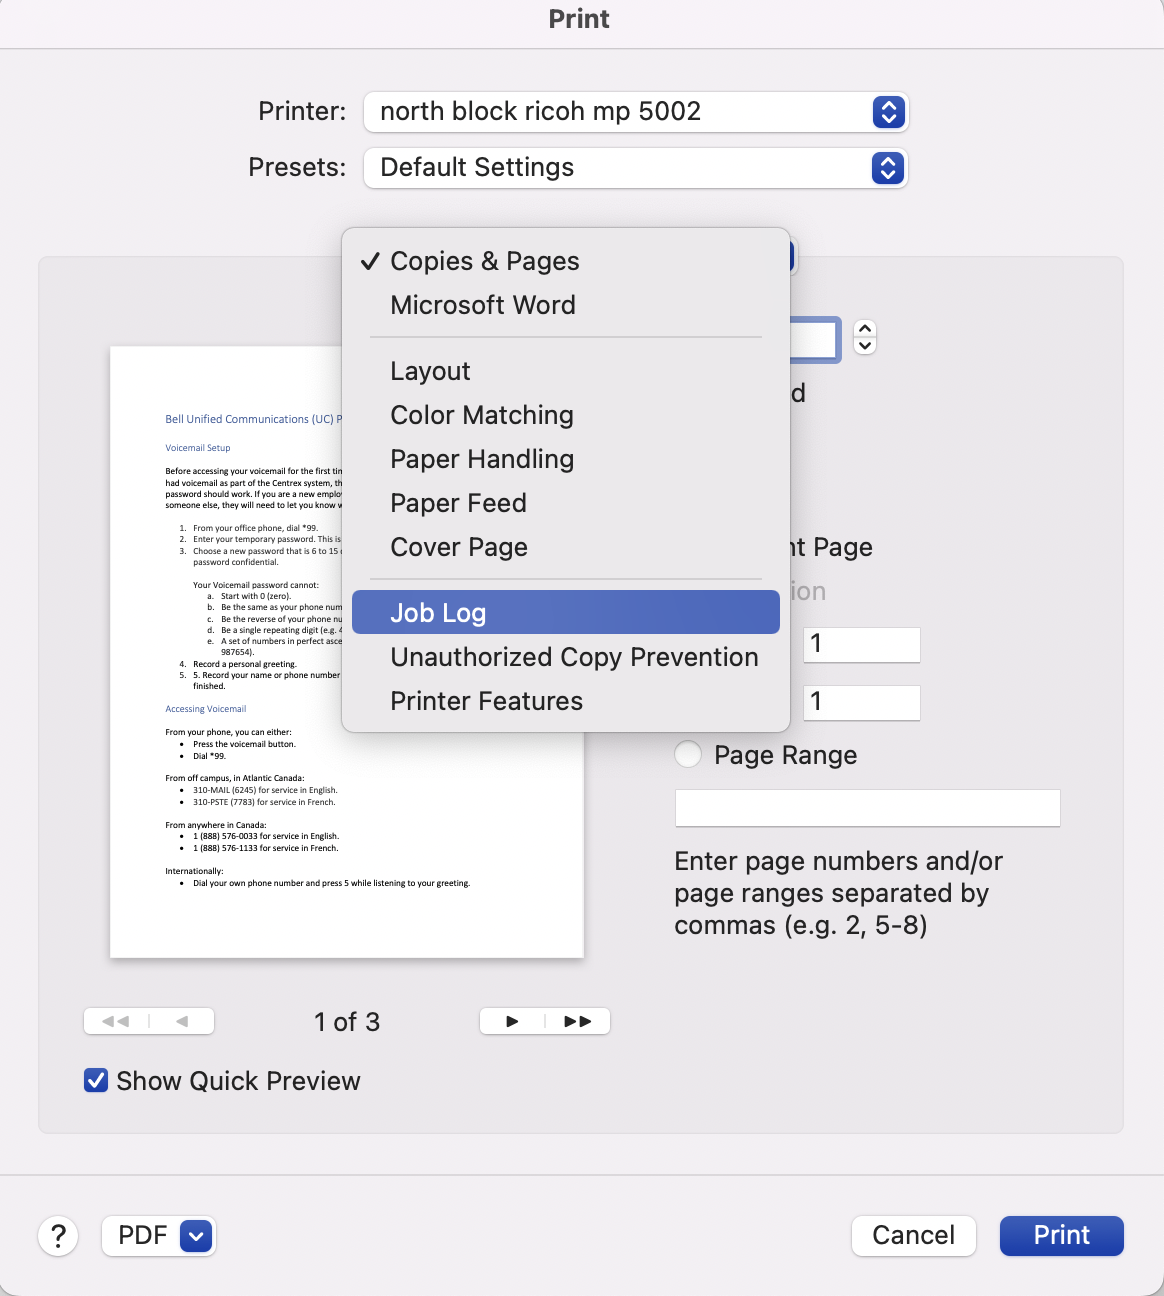
In the print dialogue box, click “Show Details” if the details are hidden:
Change the job type dropdown option to “Job Log”. If Job Log and other options are not showing up, see the notes at the end of this page.
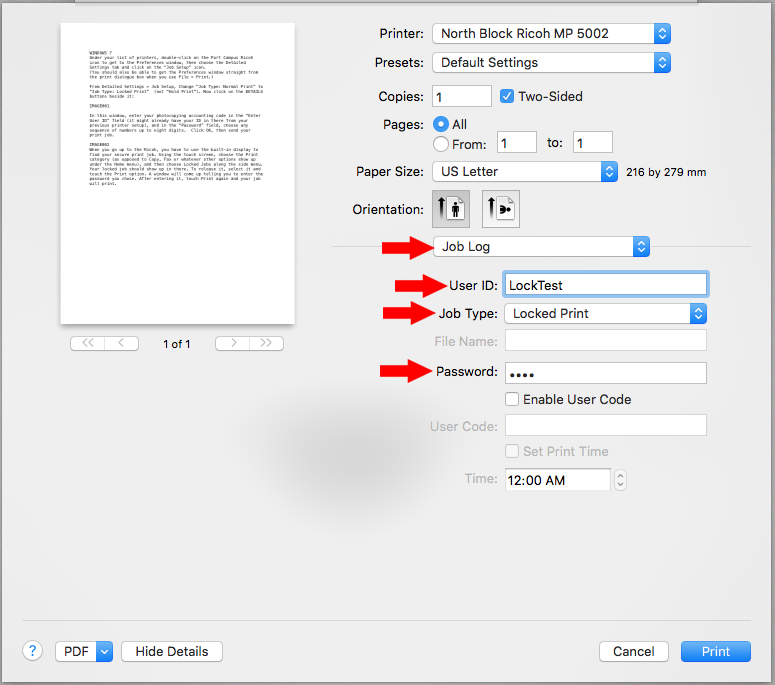
Enter a short User ID so you can identify your print job when you go to the Ricoh printer to release it.
Change the Job Type drop down option to Locked Print (not Hold Print).
Enter a numeric password of your choice, up to eight digits. You will need to enter this password to release the job.
Go to the Ricoh printer and, using the built-in display screen, choose “Printer” from the Home menu.
In the Printer window, choose the “Print Jobs” tab on the left and tap “Locked Print Job”.
In the Locked Print Job window, look for your print job, identified by whatever you entered in the User ID field in the preceding steps. Tap your job in the list to select it. Tap “Print”.
You will be prompted to enter the password you chose in the preceding steps. Enter the password using the Ricoh’s keypad and then tap “OK”. A message will pop up asking “Are you sure you want to print the following?” Tap “Print” again and your job will print.
MISSING PRINT JOB OPTIONS IN NEWER VERSIONS OF MAC OS
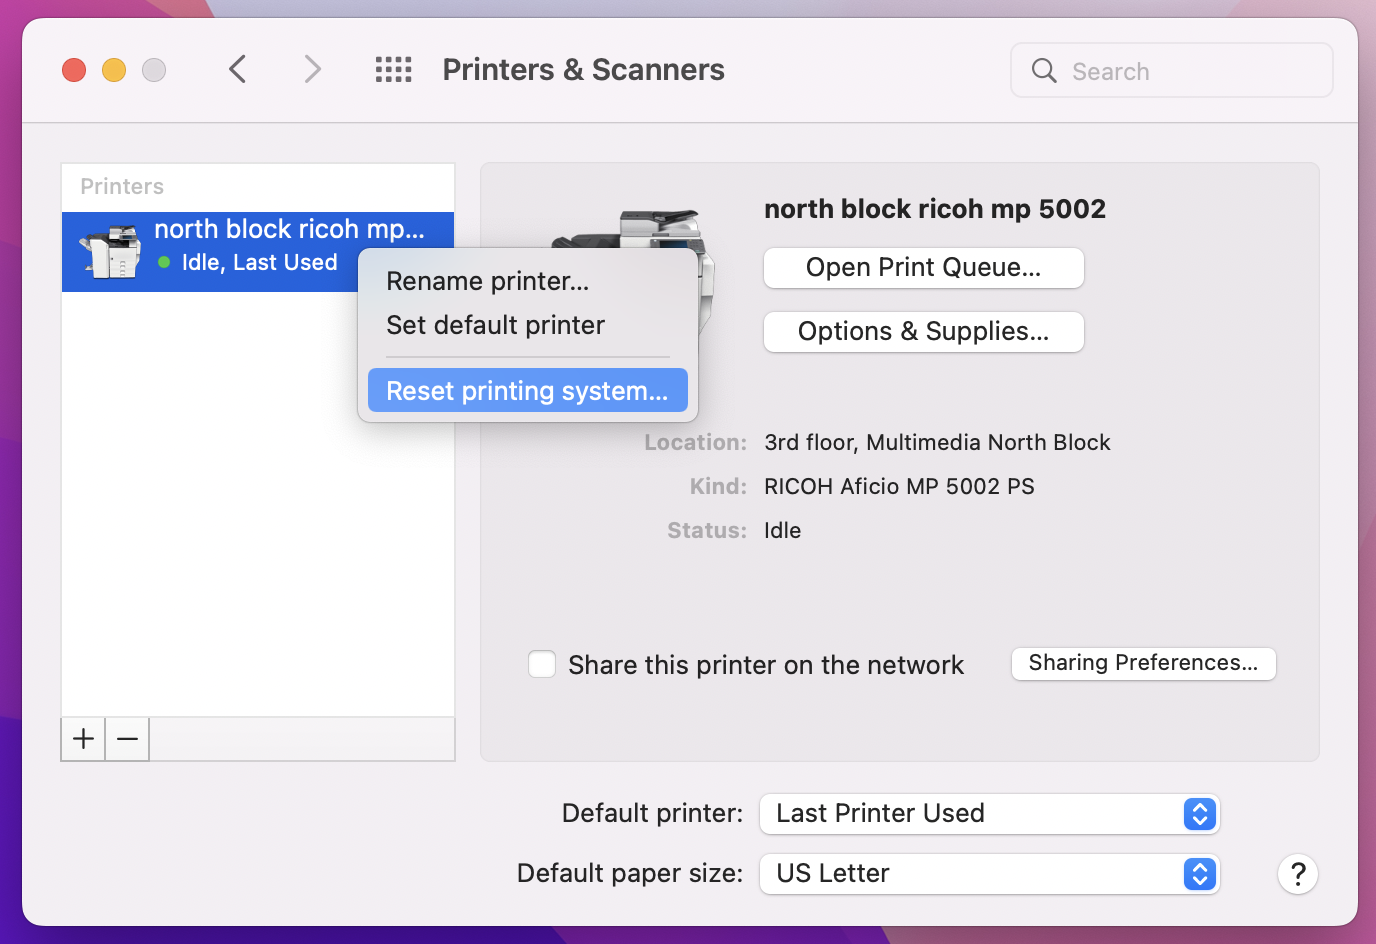
If you don’t see “Job Log” and “Printer Features” in the dropdown list, you might have to use the “reset printing system” fix. Please note that this solution requires all your printers to be re-added afterward. To use the “reset” solution, go to System Preferences > Printers & Scanners. While holding down the Option key on your keyboard, click on any printer in the list and choose Reset printing system from the menu.
This reset will delete any printers you have added, so you will need to add them again using the instructions on the Adding Printers on a Mac page. Once re-added, you should now see all the missing print options.